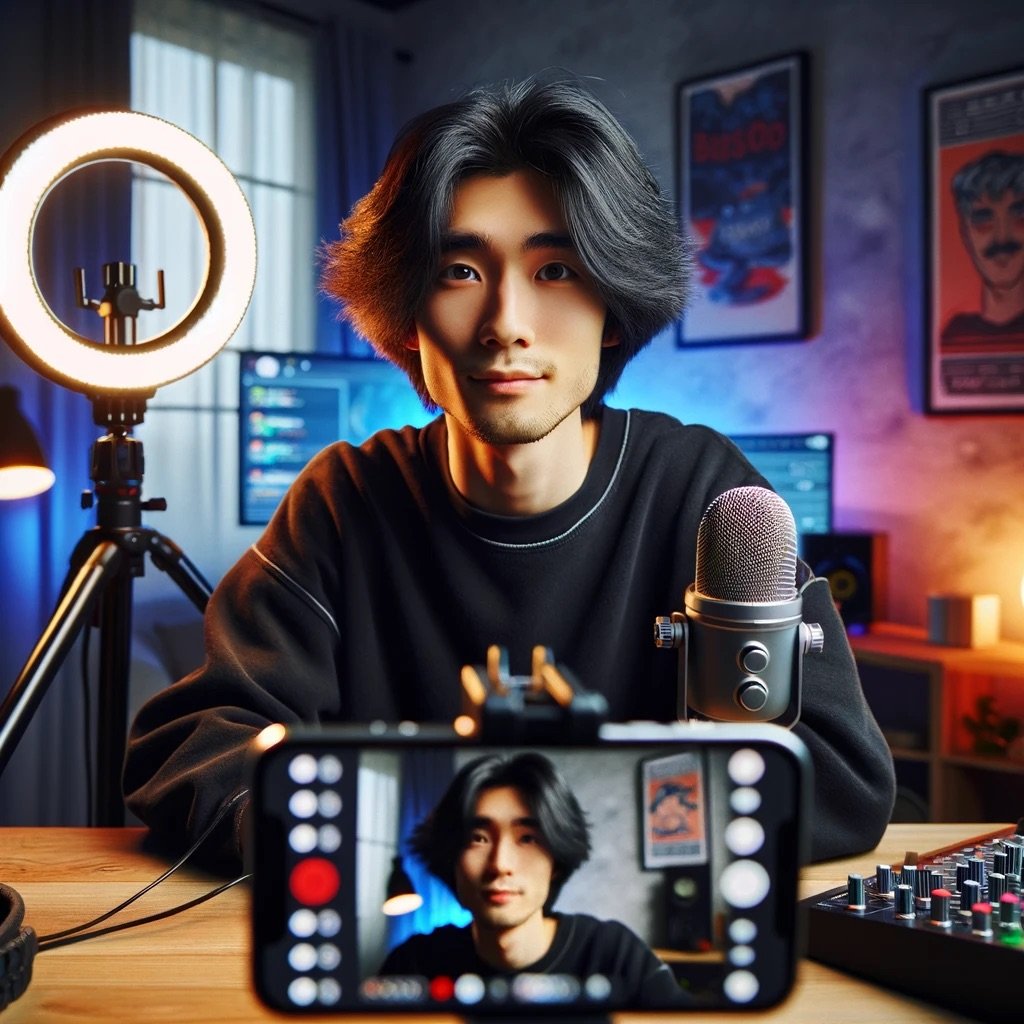
People have been asking me how to get their microphone to connect to BIGO so they can have high quality audio during their live stream. I have done an extensive amount of research before getting my system connected, and with a little help from our friend Mara, I was able to get everything working and sounding great. I thought it would be a great idea to show you what tools I have to make my sound work.
iRig Stream
The single most important part of the setup, is an audio interface called the iRig Stream. Since your microphone doesn’t connect directly into your iPhone or Android, you will need an interface to bridge between the two. The iRig Stream device will connect directly into your device using either a Lightning Plug, a USB-C plug, or and standard USB end. From there, the iRig Stream will use RCA jack and plug into the output of a mixing board. It allows you to play stereo line input over those RCA connectors. This device plays up to 48kHz / 24bit resolution audio for a crystal clear sound. It does use the power that your phone outputs to power the device, so you will lose the ability to charge your phone simultaneously. There are other iRig devices on the market, but this is specifically the one that you need for it to work with BIGO Live. Trust me, I’ve tried the others, this is the only one that works.

Pyle Professional Audio Mixer
The next thing you need is an audio mixer. This is how you get power to your microphone. If you are using a USB microphone (which I do not recommend) you can plug into the USB jack on the mixer board. Personally, I recommend you use the microphone that I will talk more about below. You will be able to input the microphone into this device, and output the audio using the RCA connection straight to your mobile device. You will be able to adjust the volume levels as well as add other inputs such as music from your computer or iPad. This board is super durable and very reliable, but it does require power from a 12v jack (included)

Neewer NW-800
The last thing you’ll need is a high quality condenser microphone. In my opinion, you’re going to want a good condenser microphone because for what we’re going to use it for, this is a great choice. These are not very durable, so make sure to take good care of it. Utilize the shock absorber mount and pop filter that comes with it. This microphone uses the XLR male to XLR female cable that will go from the mic into a 48v Phantom Power preamp. From there you will use a XLR Male to XLR female to plug it into the microphone port one on the mixing board. This is the same microphone that most of the broadcasters in Asia are using. The sound quality is good and it’s very easy to set up.

This entire setup, including the cables is under $200 as of the time of this posting. It’s quick and easy to setup and for me it’s relatively portable. I’m able to fit all of this into a shoe box and transport it from my main command center into my bedroom or storage. It only takes about 5 or 10 minutes to assemble everything and the audio quality is great. I also use a pair of in ear monitors, which in my opinion are better than standard headphones that you would get with your phone. In ear monitors drown out more of the sound and hide away so you barely even tell you’re wearing them. This works great to keep the aesthetics of your broadcast clean and pleasant. I fully recommend this entire setup and I hope it works as well for you as it has for me. If you need help setting it all up, don’t hesitate to reach out to me on the BIGO Live App at BIGO ID: codyrose
If you’re interested in becoming an official host on BIGO Live, you will need an official BIGO Live Agency, and I happen to own one of my own. Reach out to me on the web or apply on that website. It’s quick and easy to get started making money online as a live streaming broadcaster.

